

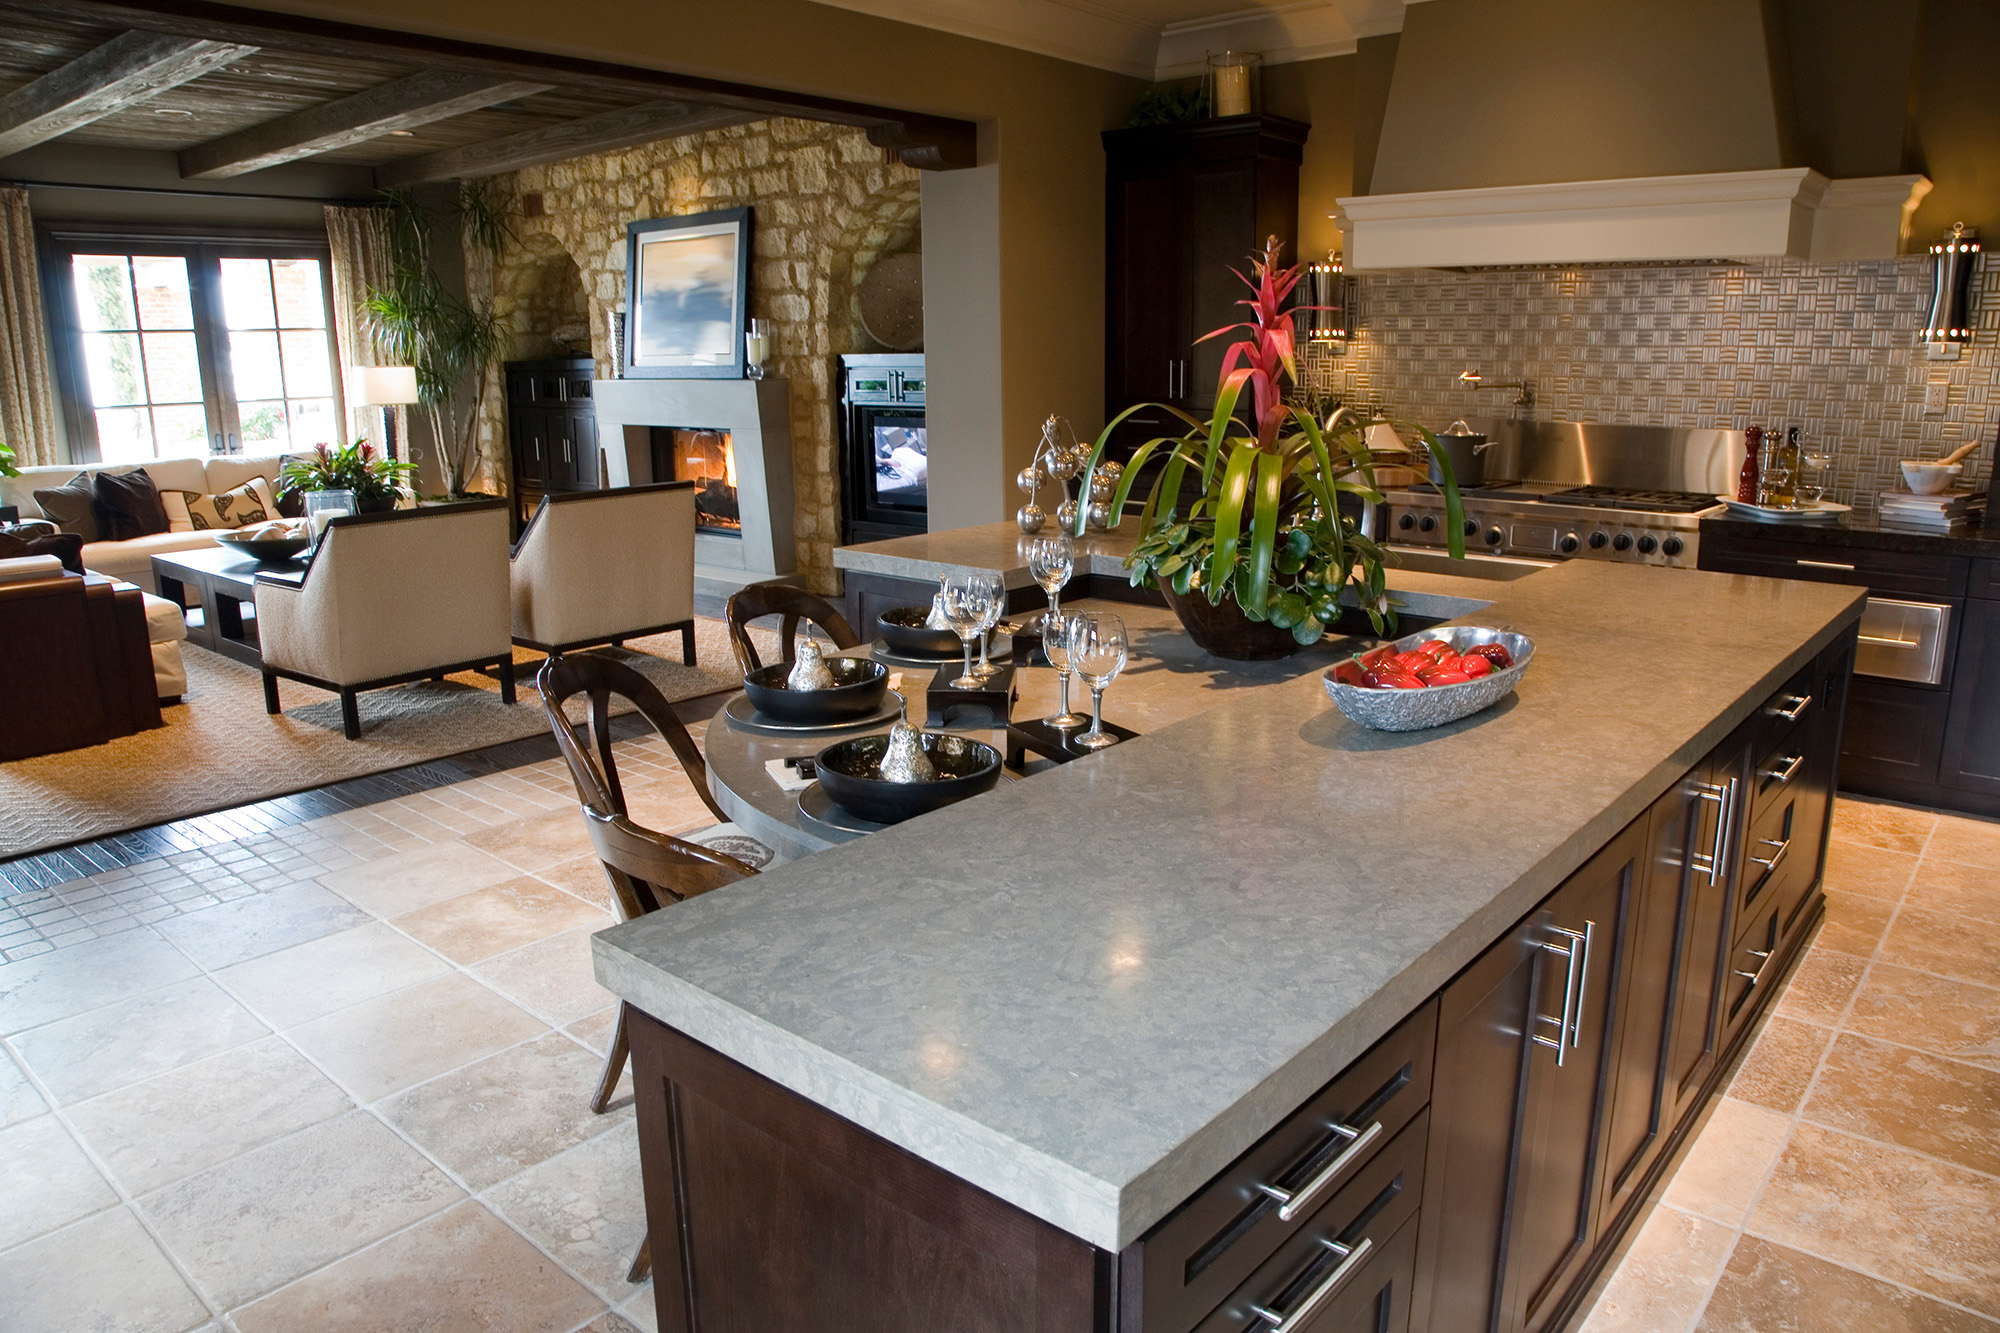
A clean hardwood-to-tile transition is one of those details homeowners notice every day. When it is done well, the flooring feels intentional and the rooms flow naturally. When it is done poorly, you end up with a clunky reducer, a visible height jump, toe-stubbing edges, or a line that looks like an afterthought.
The good news is that a smooth transition is possible. The catch is that it usually depends less on the flooring itself and more on planning the full floor assembly before any material goes down.
What a Flush Transition Actually Requires
A flush transition means the finished height of the hardwood and the finished height of the tile align closely enough that you do not need a large ramped transition strip between them.
That sounds simple, but each floor is built from layers. Hardwood may include the plank plus adhesive or underlayment. Tile includes the tile thickness, mortar bed, uncoupling membrane in some cases, and the condition of the substrate underneath. If those assemblies are not calculated in advance, the finished heights rarely land where you want them.
This is why “we’ll figure it out on install day” often leads to ugly transition solutions.
The Real Issue Is Height Build-Up
The most common reason a reducer becomes necessary is uneven height build-up between the two floor systems.
For example, tile may sit higher because of:
Thick porcelain or natural-look tile
Mortar thickness needed to correct minor substrate variation
Waterproofing or uncoupling membranes
Extra leveling work in localized areas
Hardwood may sit higher because of:
Thicker engineered or solid planks
Underlayment requirements in a floating installation
Plywood build-up over part of the subfloor
Slab correction in one zone but not the other
If the installer knows those conditions early, there are several ways to control the result. A tile assembly can sometimes be built up strategically. A hardwood area can sometimes be shimmed or adjusted. In some homes, material selection itself needs to change to make the transition work.
Where Layout Planning Matters Most
Even when the heights match, the transition can still look wrong if the layout line is poorly planned.
The best transitions are usually placed where there is a natural architectural reason for the material change, such as:
A doorway or cased opening
The boundary between a kitchen and living area
A mudroom entry
A bathroom threshold
A bad transition line often lands in the middle of open sightlines or cuts awkwardly through a walkway. That makes the flooring feel visually broken, even if the technical work is fine.
Board direction and tile pattern also matter. If hardwood runs toward the transition but the tile grid is off-center or skewed, the meeting point can look tense and mismatched. That is why layout should be reviewed as a whole, not room by room in isolation.
When a Metal Profile Works Better Than a Reducer
Not every trim piece is bulky or ugly. In many projects, the cleanest answer is a slim transition profile rather than a traditional ramp reducer.
A low-visibility profile can protect tile edges, define the material break clearly, and keep the transition durable without creating a heavy visual interruption. This is often the right move when the two materials are close in height but not perfectly flush.
That is a better solution than forcing a flush look where the assembly does not support it.
Common Mistakes That Ruin the Finish
Several issues tend to cause transition problems later:
Ignoring Subfloor Flatness
Tile and hardwood both perform better on a properly prepared substrate. If one side is corrected and the other is not, height differences become harder to manage.
Choosing Materials Separately
Homeowners often pick tile first, then choose hardwood later, or vice versa. That can lock in mismatched thicknesses before anyone has reviewed the full assembly.
Treating Transition Planning as Cosmetic Only
This is not just a style issue. A poorly handled transition can chip tile edges, create movement problems, or collect dirt at the seam.
Forgetting Expansion Requirements
Hardwood needs room to move. If the transition detail is too tight or incorrectly pinned, performance problems can show up later.
The Best Time to Solve This Problem
The right time to plan a clean hardwood-to-tile transition is before final material selection and definitely before installation begins. That is when your installer can compare product thickness, review substrate conditions, and decide whether the best answer is flush, near-flush, or a minimal transition profile.
Trying to correct the issue after one floor is already installed usually limits your options and raises the cost.
At Dungan's Floors, we help homeowners think through the full flooring assembly, not just the surface look. If you want hardwood and tile to meet cleanly without an awkward reducer, the details that matter most are height build-up, substrate prep, expansion planning, and layout alignment.
We serve Mckinney, TX, Allen, TX, Plano, TX, Princeton, TX, Prosper, TX, and Celina, TX and welcome you to visit McKinney, TX to compare hardwood and tile options in person. If you are planning a mixed-flooring project and want a cleaner, more intentional transition, contact us to schedule a consultation.


